There is a problem with the chmod you issued. If you want to recursively chmod all files in current working directory the syntax would be chmod -R 777 ./. From man chmod:
chmod [OPTION]... MODE[,MODE]... FILE...
Using FILE '/' tells the computer to chmod from root down. Current working directory is './' (dot-slash).
Also, Options (-R) go before MODE (777), although that apparently didn't stop the computer from wreaking its havoc.
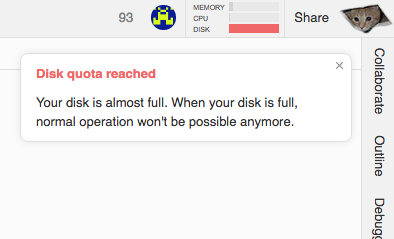
If I was a cat, I'd be dead (as in "curiosity killed the cat"!). I tried this myself (on my secondary workspace, of course). I killed the process before it filled the disk. Now I cannot open a terminal. According to cloud9 support, there is no option to restore a workspace to a previous date. This is the kind of problem that could take all the rest of human history to find and fix. I recommend you create a new workspace and move on. Something like this:
Backup your existing workspace. Make sure you have at least one GB of local storage (since that is all the available disk on cloud9). File > Download Project will create a zip file of your workspace that you can save to your local computer. That way all your prior work will be preserved (and presumably accessible with local tools). Review the downloaded zip to make sure you can see and access your files.
Create a new workspace: CS50 IDE > Dashboard > Create a new workspace > (Workspace name: of your choosing, Template: Harvard's CS50) > Create Workspace.
A cloud9 free account only allows one private workspace. You may want to change the new ws to private and the old on to public in Dashboard. (honesty policy and all that). After a couple of days (just to let things settle) you can delete the original workspace. BACKUP FIRST!
update50 in the new workspace.
You can use File > Upload Local Files... as you see fit to restore old projects.
As for pset8 permissions: the necessary permissions have changed since the spec was produced. Here is the definitive guide to permissions for psets 7 and 8.
Gotta go backup my workspace now! Good luck.
